Blog
The Ultimate Guide to Lash Adhesive: Everything You Should Know
As a lash artist, knowing your tools is just as important as the skill you wield them with. One such tool, often overlooked, is lash adhesive. The color of your lash adhesive can make a significant difference in the overall look and feel of the lash extensions you apply.
What Are Eyelash Extension Glues?
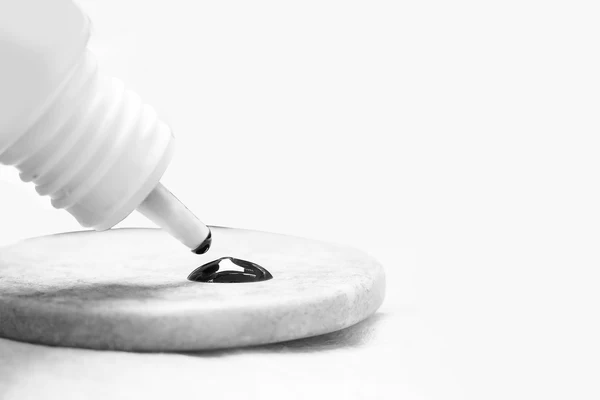
Black Eyelash Glue
Black eyelash glue is specifically formulated to dry with a dark color, blending seamlessly with black lashes. Its primary advantage lies in creating a fuller lash line, enhancing the overall appearance of the extensions. Professionals often prefer black lash extension glue when working with clients who have naturally dark or black lashes.

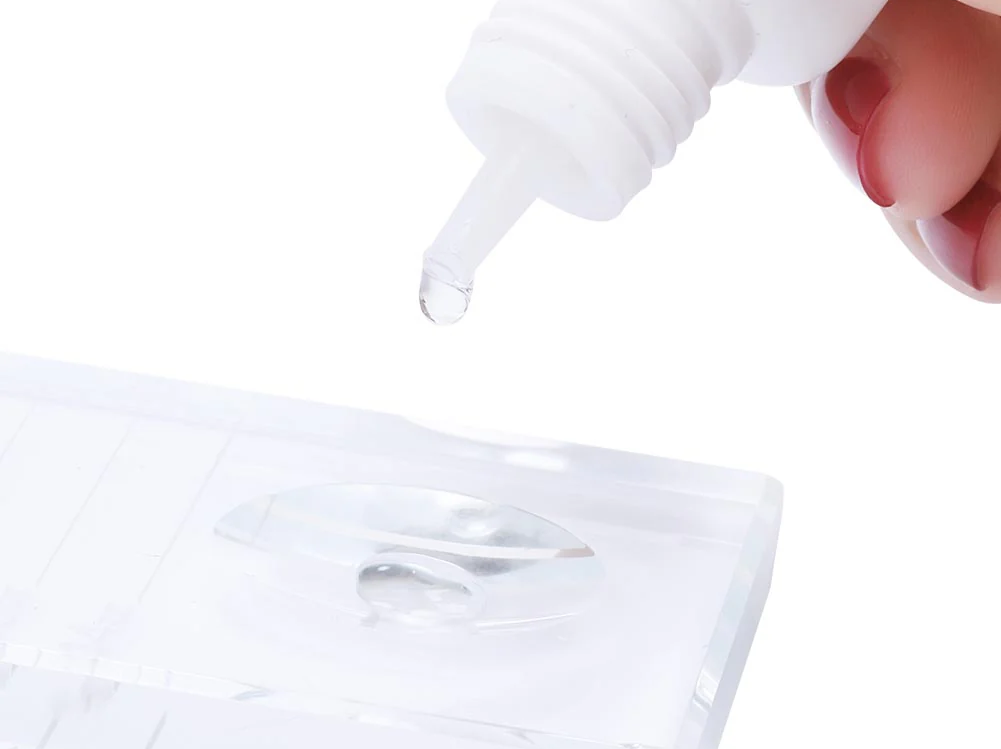
Clear Eyelash Glue
Clear eyelash glue, as the name suggests, dries to a transparent finish. This type of adhesive is suitable for clients with lighter or white eyelash extensions. Clear glue offers a more subtle appearance, allowing the focus to remain on the lashes themselves rather than the adhesive.

Learn About Eyelash Glue
Dry time
You’ll often hear two words used when discussing lash adhesive: drying and curing.
Drying is the initial phase of attaching the extension to the natural lash when the adhesive is no longer wet. Glues are measured in their dry time, or how fast the adhesive develops a film on the outside that is no longer sticky. On the other hand, curing is when the entire adhesion process is complete meaning the glue is completely dry inside and out.
There are both slow-drying and fast-drying varieties of eyelash extension adhesive, and each come with its own benefits.
Slow-drying: As the name implies, slow-drying adhesives take longer to set. On average, these glues take about 2 to 5 seconds to dry. Now, I know this doesn’t sound like a long time, but in the world of lashing, it is! Slow-drying lash adhesives are a great choice for beginners because they grant more forgiveness and time to move the extension around until you find the perfect placement.
Fast-drying: Fast-drying adhesives take anywhere from 0.5 seconds to 2 seconds to dry. Experienced artists favor fast-drying glues because it allows them to complete the sets quicker.
Ultimately though, your best choice of glue will come down to preference and skill level. It’s also important to consider that dry time can be impacted depending on the temperature and humidity of your studio – which we’ll cover shortly.
Viscosity
Another element that differentiates lash adhesives is their viscosities or thickness. The thinner the adhesive, the faster it will set. Similarly, thinner adhesives weigh less, meaning if you are a volume fan lover, it’ll be best to use a thin glue so as not to weigh your client’s lashes down.
That being said, lash adhesive should never be goopy. If it is, that can be an indication that it was not properly shaken beforehand or that the temperature and humidity of the studio are off.
Temperature & humidity
Lashing is a delicate process! Even something as simple as the temperature of your lash studio can impact your final results. For this reason, all lash adhesives come with a suggested temperature and humidity range for optimal results.
Let’s start with humidity. Lash adhesive is cured with moisture, so humidity plays a large role in determining how quickly that happens. Too much humidity, and the glue will harden too quickly or simply stop working altogether. On the other hand, too little humidity and the glue will not dry quick enough and will slow you down or cause dreaded “stickies,” – lashes sticking to one another.
Fortunately, this is a simple fix. Always keep a temperature and humidity gauge in your studio. For desert climates, buy a humidifier and for wet climates, buy a dehumidifier.
Curing
As mentioned earlier, drying is the first stage of adhering the lashes, and curing is the final step. When you’re done with your set, it’s always important to make sure the lashes are fully cured in order to get the best retention.
Lash adhesive cures with moisture, so to lock them in place, it is recommended to use a nebulizer over the lashes. Nebulizers spray an incredibly fine mist of water that penetrates the adhesive and allows it to fully cure. Personally, I prefer a nebulizer over a nano-mister because the mist is even finer with the nebulizer.
Spraying too much water onto the lashes can cause something called shock polymerization, which causes the glue to turn white. However, if your lashes aren’t cured fully, they will shed faster. You can avoid this by using something like the nebulizer to get the perfect cure each time.
Comparing Black And Clear Eyelash Glue
When it comes to appearance, black eyelash glue creates a fuller lash line and blends seamlessly with black lashes, while clear glue offers a more subtle finish that emphasizes the lashes themselves. In terms of versatility, clear eyelash glue is more suitable for a wide range of lash styles and looks, making it a versatile option.

How To Use Lash Adhesive
Now that we covered the basics, let’s talk about how to use lash adhesive. Here are my favorite pro tips for getting the most from your glue:
- Always shake the bottle beforehand. The formula needs to be mixed to work properly. It’s recommended to shake your adhesive for 2 minutes before use. This is such an important step that some artists even buy a mixer that will automate the process and shake the glue for them so they can use that time to prep other tools.
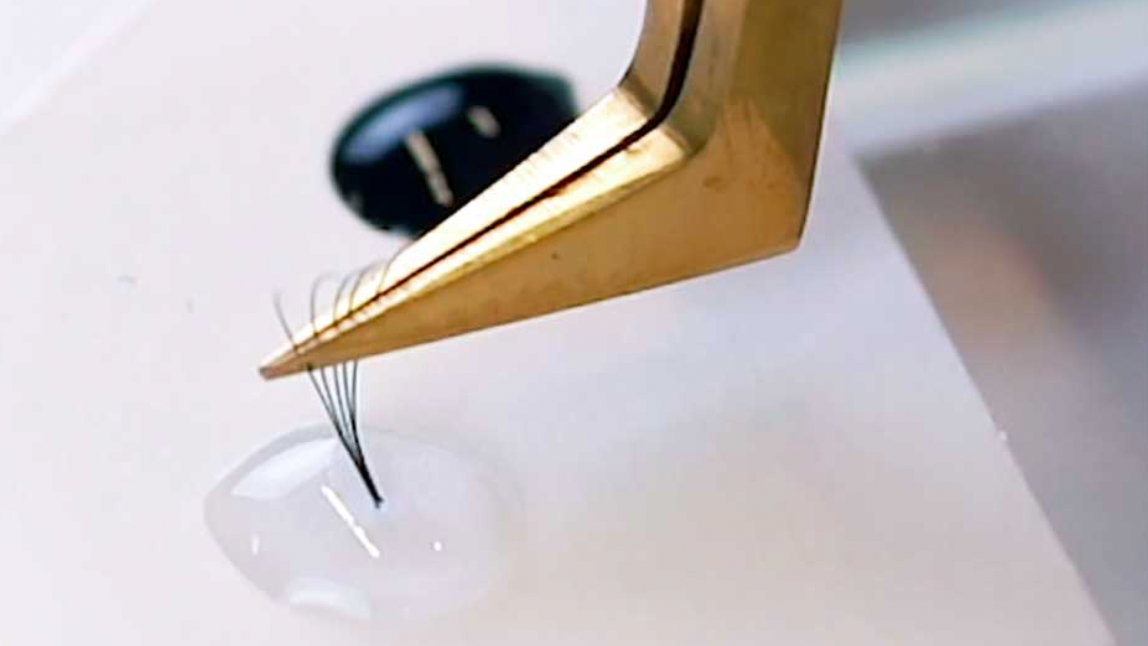
- Use a glue tray. Glue trays are specifically designed with a little divot that keeps less glue exposed to the air. As soon as adhesive hits the air, it beings to cure. That means, you’ll need to replace your glue dot often to avoid it changing consistency. With glue trays, the divot buys you more time between changes, so you can spend more time lashing and finish your sets quicker.
- Change the glue dot often. If you notice the glue starts to get stringy or thicker than usual, change the dot. Keeping a fresh dot will ensure you get the best performance from your adhesive.
- Burp the bottle. You want to avoid getting air into the bottle as much as possible. However, every time you squeeze a drop of glue, air can get into the packaging, resulting in reduced shelf life. To avoid these complications, after you dispense the drop, tap it a little until the air bubble comes out. This is referred to as “burping the bottle” in the lash world.
- Never clean with cotton. Keeping your lash adhesive bottle clean will help extend the shelf life. With that being said, NEVER clean it with a cotton pad or tissue paper. The main ingredient in lash glue reacts with cotton, creating smoke and it can even start a fire. Most lash suppliers sell adhesive wipes specifically made for glue bottles to avoid this.
Conclusion
In the world of lash artistry, adhesives are more than just a tool to stick lashes; they’re an integral part of the overall aesthetic. Choosing the right color adhesive can elevate your lash application, ensuring your clients leave not just satisfied, but thrilled with their unique look. Whether it’s the boldness of black, the versatility of clear, the subtlety of brown, or the playfulness of pink, each adhesive color has its own role to play in your lash artistry palette.
Remember, the best choice always aligns with your client’s desires and natural features, enhancing their beauty in the most seamless way possible.
